Email newsletters are more important than ever.
If you want to reach potential and existing customers, they’re a great way to spread the word about upcoming projects, company news, and other business-related information to a large audience.
In this tutorial I’ll walk you through how to create your own email newsletter template in Photoshop, taking into consideration common design patterns that prove to be effective.
After you have completed this design process, you will be ready to code and style this template. Here’s a link to the post on coding an email newsletter.
The Final Product
1. Getting Started
As general practice, it’s best to design your newsletter with a fixed width instead of a fluid/liquid layout. This will prevent horizontal scroll bars as the result of not using the full width of the screen. Design your newsletter with a width of around 550-600px and make sure the important information is within the top 300-500px of height as this is the size of an average preview pane.
2. Setting up the Document in Photoshop
Open up Photoshop and create a new document with a width of 800px and a height of1000px with a resolution of 72dpi. Be sure the color mode is RGB.

For the background I filled it with a light gray. I created a container 600px wide to house the main content. I chose to fill it with white and positioned it in the center of the document.
3. Allow the user to view the email in the browser of their choice

I added this command to the top of the newsletter in Myriad Pro 10pt. It’s important to give the viewer options in viewing your email as some of them might not download images from an email by default. To improve accessibility always include the option of viewing the email newsletter in their web browser.
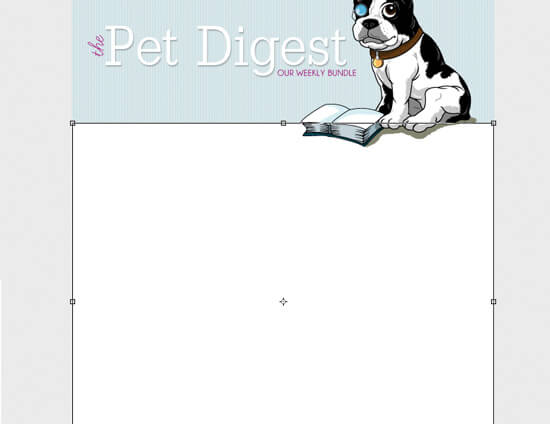
4. Create the Email Newsletter Header
In this tutorial I’m creating the email newsletter, The Pet Digest, to compliment my new blog called The Pet Anthology. The goal is to keep interested readers up to date with the latest goings on through a weekly bundle delivered to subscribers. Since the branding has already been established, choosing fonts, color, and graphics should be simple.

The above image is the header of the blog. I’m going to retain the look and feel while making only slight modifications. I start by selecting and dragging the mascot over into the newsletter template. From there I grab the name and slogan and drag them onto the new document as well. With some minor revisions to the text, the newsletter looks like this:

The fonts I used were: Slab Tall X for ‘Pet Digest’, Champagne & Limousines for ‘Our Weekly Bundle’, and Learning Curve for ‘the.’
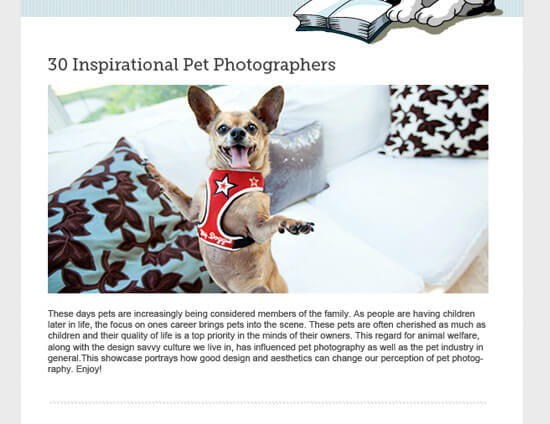
5. Create the main part of the newsletter
Start by creating another rectangle 600px wide under the header and extend it close to the bottom of the page.
I then gather the content that will be featured on the coming weeks newsletter. Again, using the design attributes already laid out on The Pet Anthology, I create the heading using Museo Sans, drag and drop in the main image as well as copy and paste the article text. A dotted border placed underneath will separate each article field.
I then duplicate the first entry twice and move them down to fill out the rest of the spots for this newsletter. I’ll place the new content in the duplicated spots shortly.
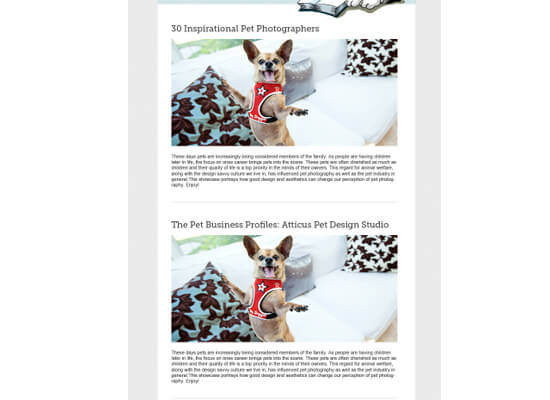
Using guides, I insert the remaining two entries and erase the duplicated content.

6. Add Social Links
I want to include an area for social network and RSS icons, as well as the ability to let the subscriber share the newsletter with friends. I start by creating a rectangle 252px and include text to instruct the subscriber to follow us. I use these Social Network icons, changing the colors around to reflect my branding. Keeping in mind usability of e-newsletters I decide to keep things simple.
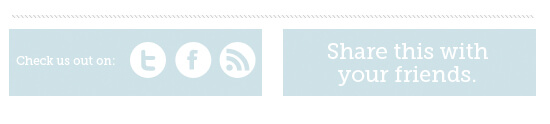
I then duplicate the rectangle and place it to the right, including the ‘Share this with you friends’ text in Museo on top.
7. Include a Footer
To wrap things up, I create the footer which will allow you to get in contact with me and a link allowing you to unsubscribe from the newsletter. Every newsletter needs to have a link or a button to allow the reader to freely unsubscribe from the newsletter should they choose to.

Conclusion
That’s it! Hopefully this tutorial gave you a good idea of how to create a functional email newsletter. Let me know if you have any comments or questions about the design process!
Once again, here’s a link to the post on coding an email newsletter.


No comments:
Post a Comment